“Watercolor is famous for its intolerance of correcting mistakes or for keeping whites,” says Shuang Li. “Because of this, it helps enormously to plan before actually painting. Planning not only greatly improves your chances of a successful design, but it also helps you avoid any irreversible issues like losing whites or missing the opportunity to create soft edges.
Watercolor Painting Process
Planning: what I am going to paint and why
This stage sometimes only takes a few minutes (especially in plein air sessions). Sometimes it can take days to achieve. This depends on the complexity of the subject matter, or the visual languages I try to use for the subject matter. At the end of this stage, most of the time, the result is one or few value sketches with design variations. Sometimes the “value sketch” is not done on paper, but rather in my mind, especial in plein air situation. While it may appear to others that I haven’t planned anything before painting, planning always plays a very important role though as an “invisible” form.
Drawing: finalize the design on my painting surface
At this stage, after I’ve chosen my final design, I draw a very loose drawing with pencil on my watercolor paper. During the drawing process, I am only emphasizing major shapes from my design. I’m not drawing any details.
First wash: paint all of my largest shapes, keep whites if needed
At this stage, I usually use large, soft brushes and paint with lots of water and pigments. I work from back to front, with a combination of warm/cool colors. I keep my paint as transparent as possible, covering all of my largest shapes but I keep any sharp white areas as needed. At the end of stage, I usually refer back to my value sketch to make sure I’m staying the course with my design, especial the value structure. No details are complete at this stage.
Bold brushwork with “sure marks”: establish mid value shapes and darks
At this stage, I take advantage of the perfect moisture from my previous stage. Before my paper is dry, I use “sure marks” that have enough pigment mixed in to establish all mid-values and to create a variety of edge types. I complete fresh darks when the moisture condition is still ideal. Only the necessary details are suggested for the focal areas. In this stage, I complete about 80% work, and usually, it’s in one go. Because I need the paper to have a perfect level of moisture, once I start this phase, I can’t stop.
Finishing up: compare and connect
At the beginning of this stage, I always refer back to my original value sketch, compare my painting-in-progress to the original design and value sketch, and make sure the painting progress still aligns with the original goal. Again, this still doesn’t include details. Then I use drier pigment mixing to finish up important areas, adjust varies edges, connect shapes and emphasize on uniting.
This is a slow thinking stage with very few, but important, strokes. I add and enhance with finishing touch details only with what’s absolutely necessary for the painting. Aiming for the completion of a successful painting, I keep “less is more” in mind.
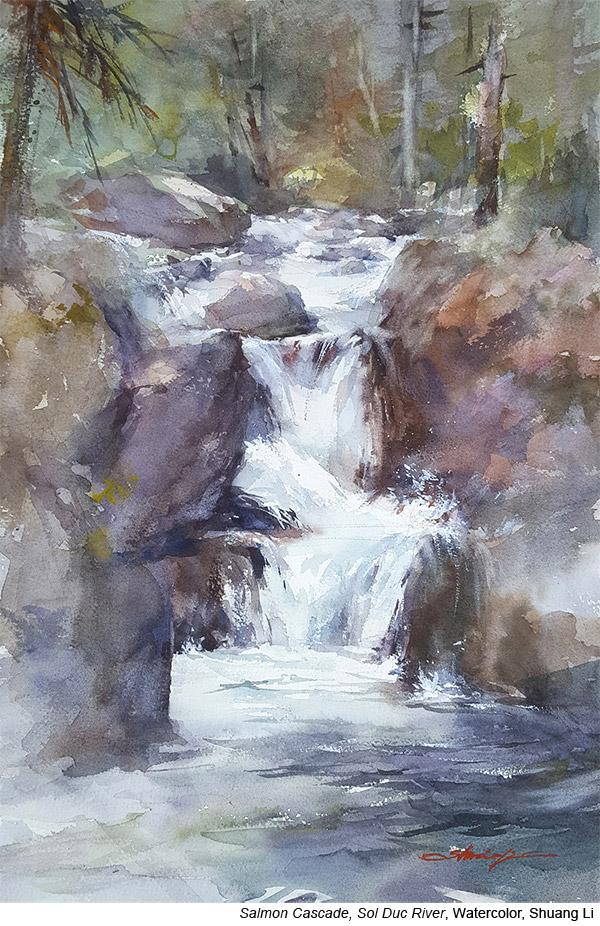
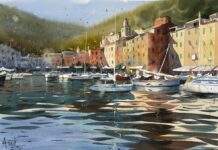
Shuang Li takes the fear out of painting water in Fearless Waterscapes. With her help, you’ll unlock the secrets of reflection, explore various ways to approach flat water and moving water, and uncover techniques for creating wet effects on rocks and the sense of water spilling over objects to create more energy and interest.




This is such wonderful advice, to think of the painting as a whole, so you never lose the sense of design. It’s building.