
Pouring watercolors can help you loosen up your paintings and create livelier backgrounds. Follow along as this accomplished watercolor artist shows you how it’s done.
PAINTING TUTORIAL: POURING WATERCOLORS
By Ryan Fox
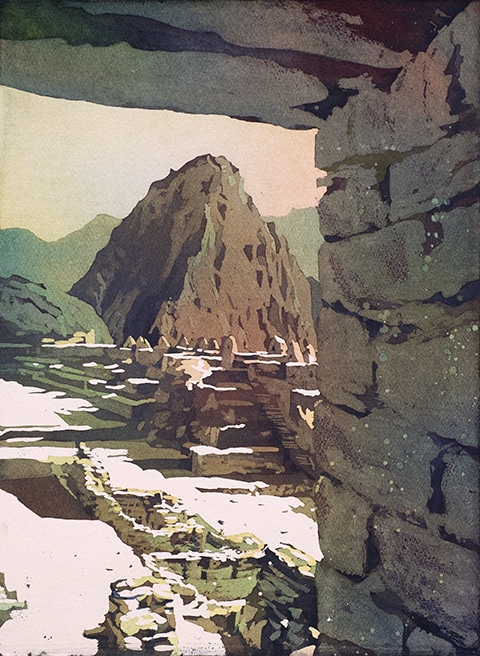
To show you how I pour watercolors, I documented a painting step by step. It’s based on a photograph of Huayna Picchu rising above the ruins of Machu Picchu. The vantage point was underneath an Incan doorway within the ruins. Compositionally, I took a chance placing the mountain smack dab in the middle of the painting. However, I used the shape of the doorway and reserved whites of the grass to lead the eye around the mountain.
Artist’s Toolkit:
3 Polar Flo 2 oz bottles: I fill the bottles 80 percent with water then add paint. I use a brush to make sure the paint has emulsified in the water. If the bottles sit for several days, I’ll need to remix the paint as it will have settled on the bottom of the bottle.
Watercolors: Pthalo Blue (Turner), Winsor Yellow (Winsor & Newton), Rose Madder Genuine (Turner).
Paper: Fabriano Artistico 300lb cold-pressed
Masking Fluid: Grafix White Mask Liquid
Board: non-absorbent board to put my painting on. I use plexiglass and Gatorboard.
Spray Bottle
Cheap brushes for applying masking fluid (do not use your expensive brushes as masking fluid destroys brushes quickly).
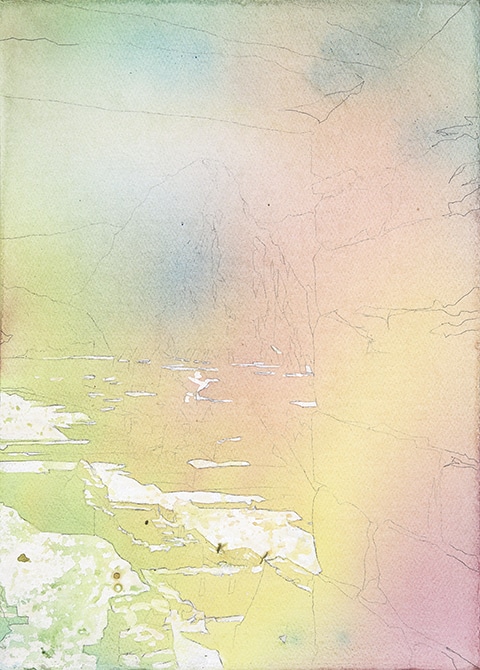
Step 1: First, I did a very simple drawing of the largest shapes. Next, I applied masking fluid to preserve the white of the paper. After the masking fluid dried, I wet the paper with a spray bottle and poured my three colors (a blue, a yellow, and a red) onto the surface. Note: The first pour is often the most colorful as this will provide a foundation for the rest of the painting. Yellow is a weak-value color and only serves to gray other colors once you surpass its value range. For this reason, I use a lot of yellow in the beginning stages and less as I progress.
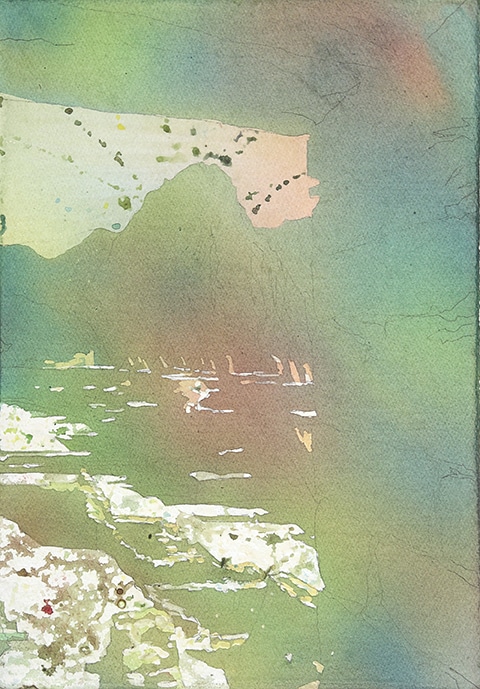
Step 2: Once the first pour was dry I masked off the sky area and other areas of the ruins. I rewet the paper and poured my three colors again. Adding this value creates separation between the sky and Huayna Picchu.
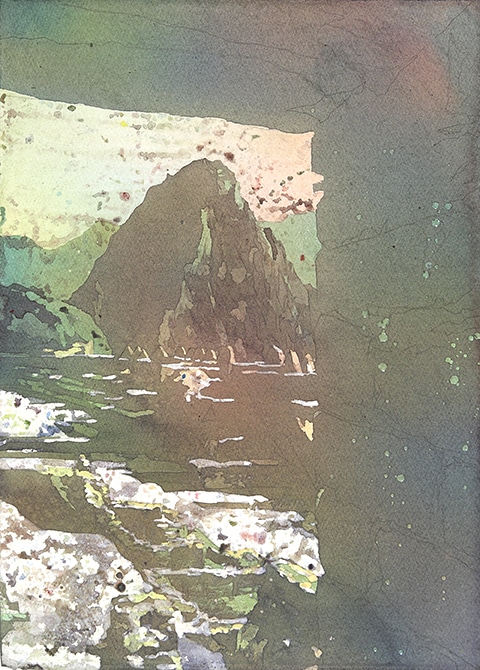
Step 3: When the second layer dried, I masked off the distant mountains, additional sections of the front of Huayna Picchu, and more areas in the ruins. Notice how I have done almost no masking to the doorway (with the exception of some random spattering of masking fluid). This value needs to be darker than the background to read as a foreground object. After the masking fluid dried, I poured almost pure red onto the painting since the last layer was largely green in color.
Step 4: I needed to start putting in darker values and create separation between the background ruins and the doorway. At this point it can be hard to see what you do or don’t have covered in masking fluid since 80 percent of the surface is protected by masking and dried paint. With sections of the doorway, ruins, and mountain masked, I poured a rich combination of my three colors on top. At this point, I do not prewet the paper. I simply squirt color on top and use a spray bottle to get rid of unwanted hard edges.
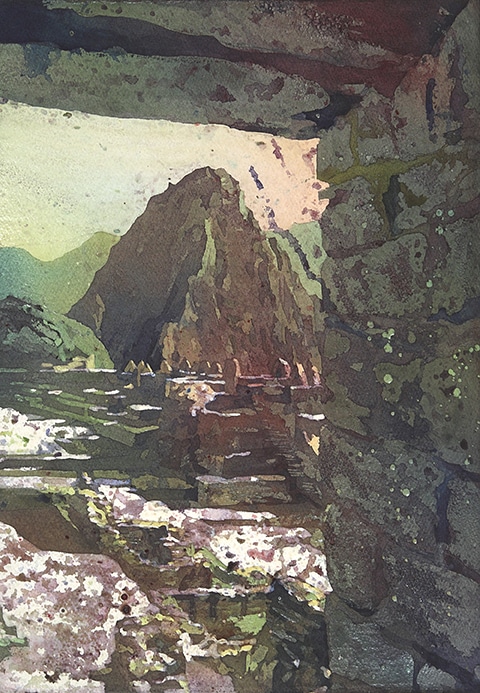
Step 5: I carefully removed the masking fluid and revealed the painting underneath. My goal is always to unveil a perfect painting – no adjustments needed, but this has never happened. After a few adjustments with a brush and traditional watercolor technique, the painting was finished.
Note: Sometimes I miss areas I want to mask. Other times I mask the wrong areas. Pouring colors can lead to unpredictable results. These little “imperfections” make the pouring process so enjoyable and unique.
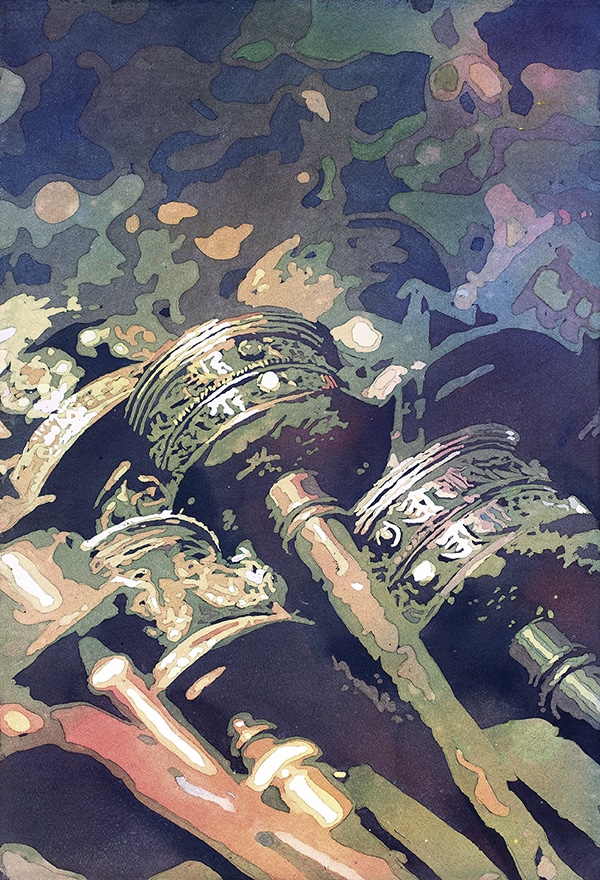
POURED WATERCOLOR PAINTING GALLERY
Here are some of my other poured watercolor paintings:

Ryan Fox is an award-winning watercolor artist. He demonstrates his painting process in the DVD Innovative Watercolor Techniques With Ryan Fox.
For more inspiring stories like this one, sign up for our free weekly e-newsletter.


Great article and beautiful paintings!
Thank you for stretching my mind. Will try pouring again.
I’ve never tried pouring paint. You are inspiring me to give it a go.
Each artist use different techniques evolved as they go on. Very informative.
Step 4 and 5 are interchanged 🙂
sorry I was mistaken. Nevermind.
Enjoyed article on pouring so much. Very informative.
Good information!