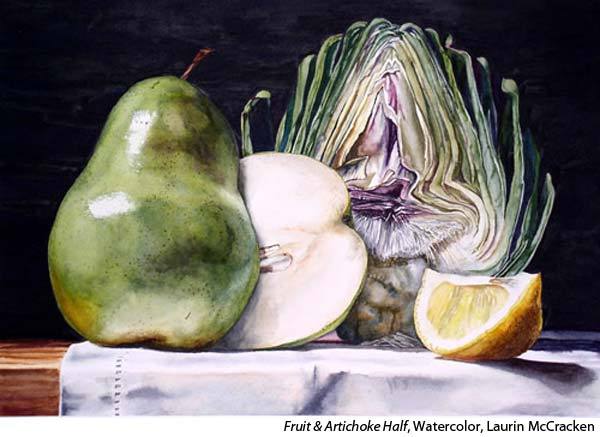
Creating an interesting story about the objects is the goal of a good still life composition. The correct placement of the objects and the correct lighting can help the viewer’s appreciation of how the objects are created. The placement of the objects can tell the viewer something about the relative relationship between them.
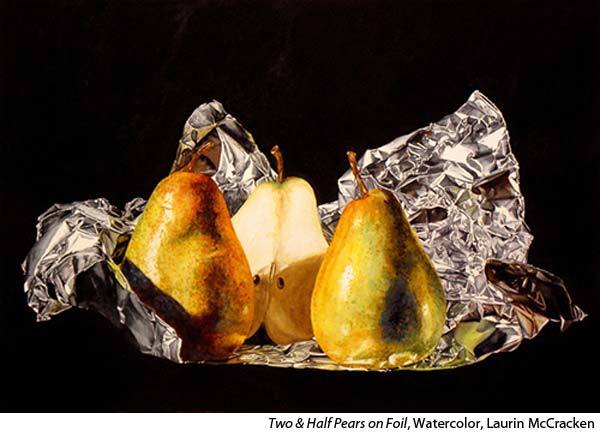
Sometimes I see an object and immediately think of a still life setup. That happened one day when I returned from the grocery store with apples, pears, and a roll of aluminum foil, and the idea for a series unfolded.
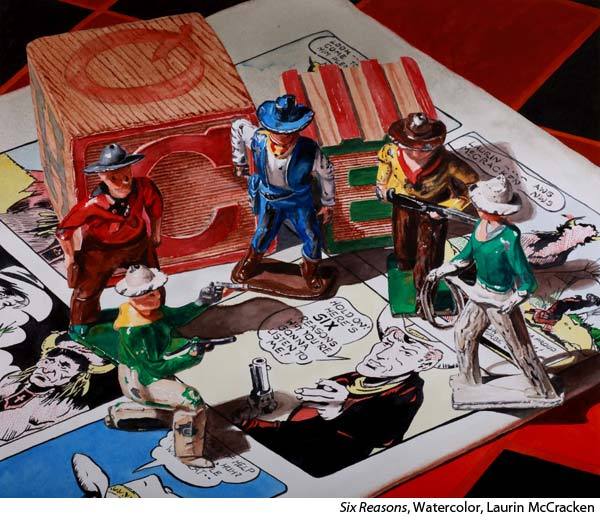
Recently, I did a thumbnail sketch of some bottles and turned that into a still life setup, as well. And sometimes the object or objects lead me to an assemblage that works as a painting, as in Toys, Tins and Boxes.
ASSEMBLING A STILL LIFE
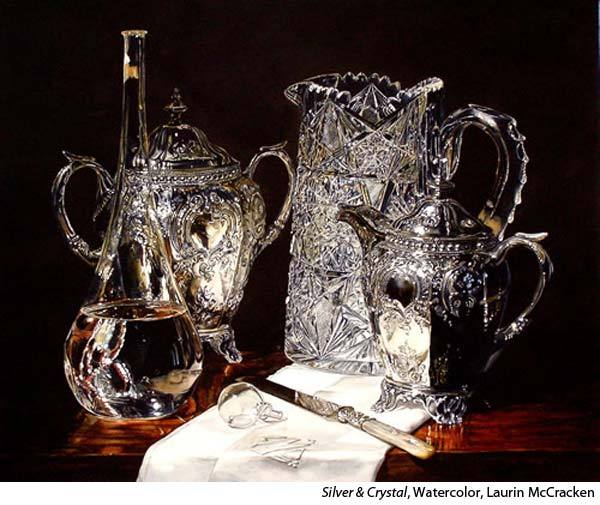
As I assemble objects for my still life paintings, I am always thinking about certain design principles such as “an odd number of objects is more interesting than an even number” and “the best lighting for a still life comes from the left.”
Many of these “rules” are so ingrained in my thinking that I don’t consciously think of them. They just happen.
One of the things I must always be conscious of is the juxtaposition of objects in still life, especially the adjacencies. If one object is in the foreground and another is in the background, but from the viewers point of view they seem to be almost touch, the viewer can not tell which is forward and which is further back. Simply moving the most forward object so that it overlaps the object behind it allows the viewer a greater ease in understanding the placement of the objects in the still life.
While every still life comes together in its own peculiar way, there is a basic approach I take in creating a still life.
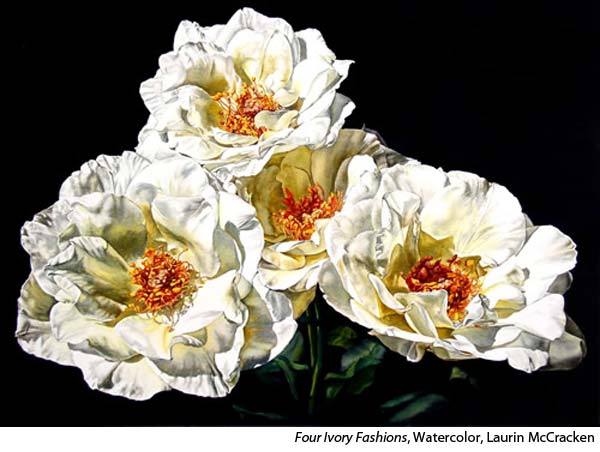
I set up my background, with or without a piece of cloth or a piece of lace. I then start with three simple objects. I use them to determine the best placement for my light. I typically use only one light source. I move the objects around to try and improve the general composition. I also turn them to determine where how the light best strikes the object. I use the light to increase the dimensionality of the objects.
At each move or turn, I will probably take a photo. The great thing about digital photography is that each image is inexpensive and quick to take and review.
Then I start adding more objects, sometimes one or two at a time, constantly moving and turning them to create a more interesting composition and to react to the light and the relative position to each of the other objects. Many times, I will get to the point where I have too many objects in the photo and too much going on in the setup and then I will start eliminating objects until the most ideal composition comes together.
FROM PHOTO TO PAPER
The process of moving the photo to the paper: I put all the images I’ve taken of my setup in my computer and then go through them, full screen, and eliminate the obviously poor shots. Then I will select those that have the best possibility for becoming a painting.
I have learned that not all good photos make great paintings. I then narrow the best images down to two or three and think about them for a while, sometimes months. I will then go back to these images, make prints of them, and think some more.
When I finally make my choice, I will move the image onto a portable memory device and project them onto my watercolor paper using a very high-resolution projector. I will then trace as much of the image onto the paper as is possible. Here is where I often find some weak adjacencies. From there I will move my paper to my painting board and add the last of the details to the drawing. I usually make large prints of the image, 13 x 17 inches, and I will paint from those prints. The drawing process for a full sheet painting can take 4 to 6 hours.
Laurin McCracken shares more of his secrets in Watercolor Realism: Glass & Wood.


