
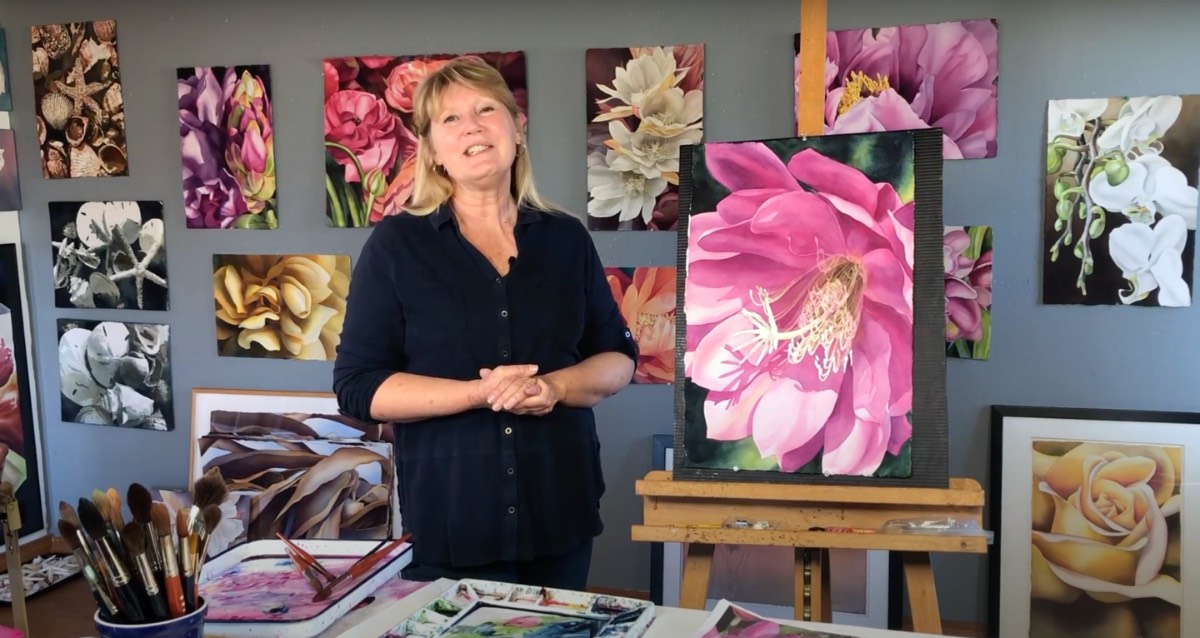
Birgit O’Connor’s demo was a hit at last week’s Watercolor Live! She shared her process for painting a gorgeous close-up flower from start to finish. Here’s a look at a few steps that illustrate her approach to painting shadows.
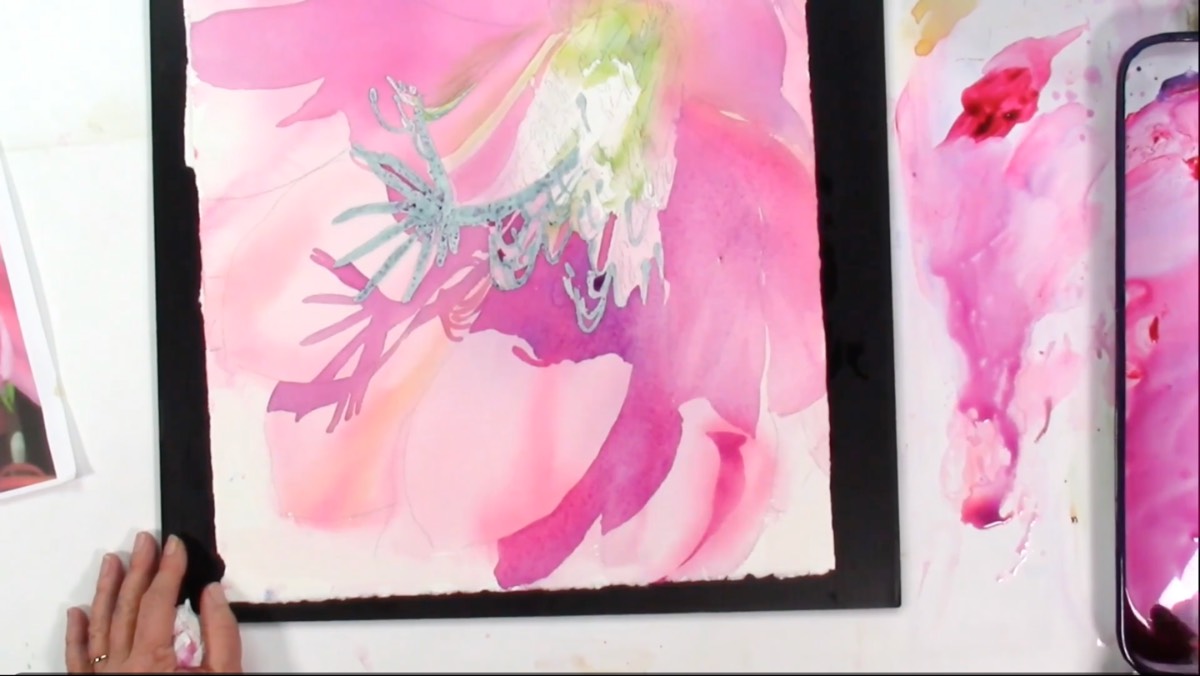
Step 1:
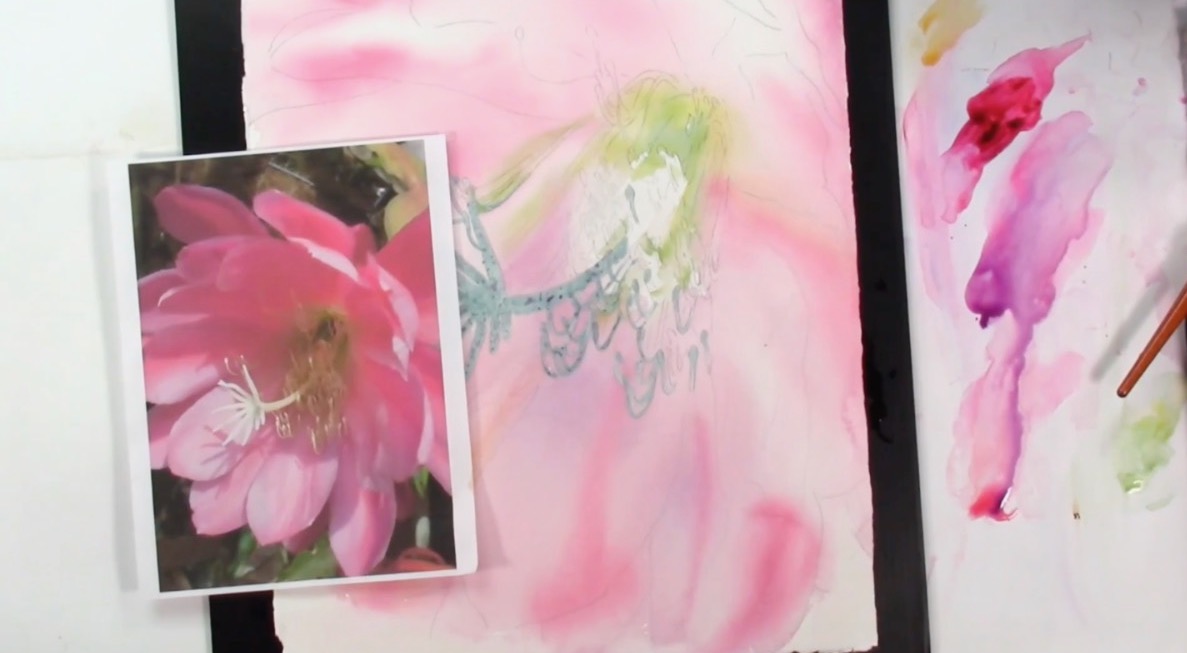
First, mask the lightest stamens that peek out of the shadows into the sunlight, then let them dry. Using a 2-inch bamboo hake brush, mop, or other wash brush, wet the top half of the paper. Leave the center of the flower and stamens dry.
Then choose your color combination for the petals. I will work with blends of Permanent Rose, Quinacridone Magenta, Quinacridone Pink, and Winsor Blue (Green Shade).
Step 2:
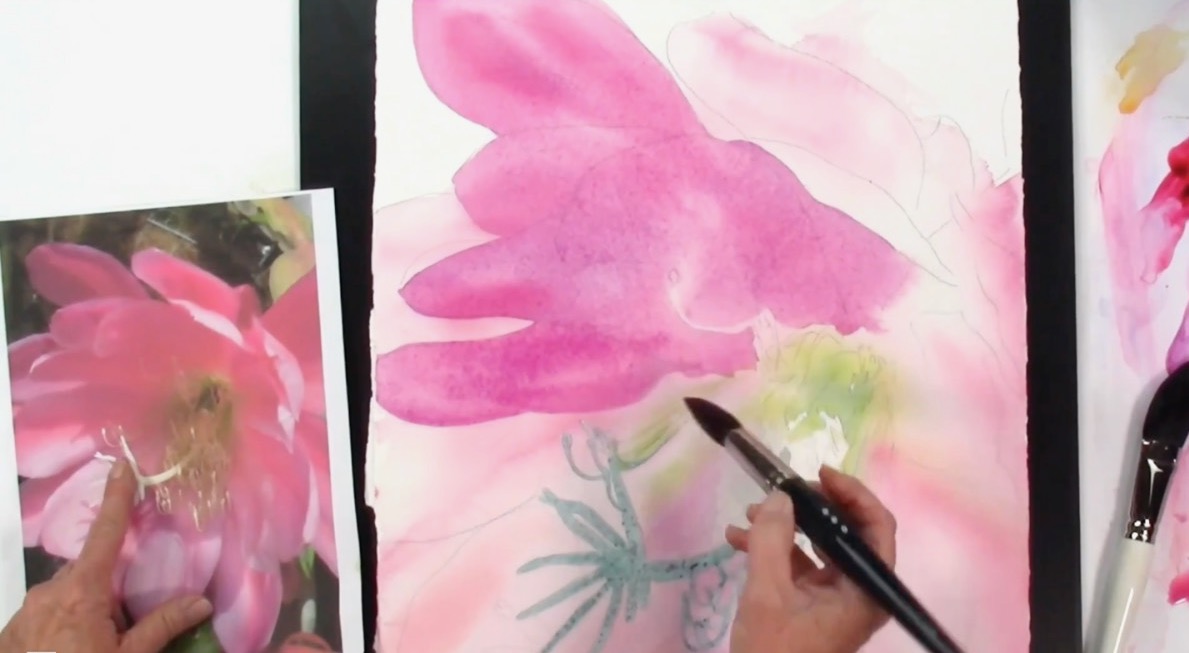
Add the shadow shapes, painting around the unmasked stamen at the top, which will be created with negative painting.
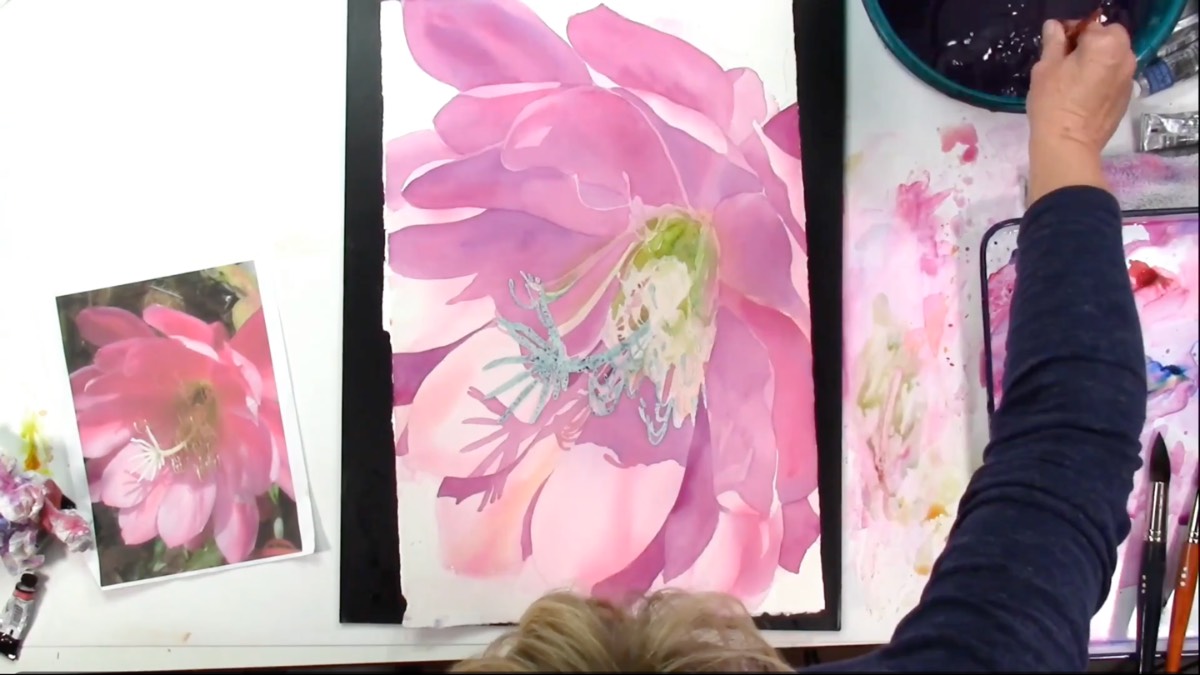
Step 3:
To soften any hard edges, go over the line with a brush filled with clean water.
Step 4:
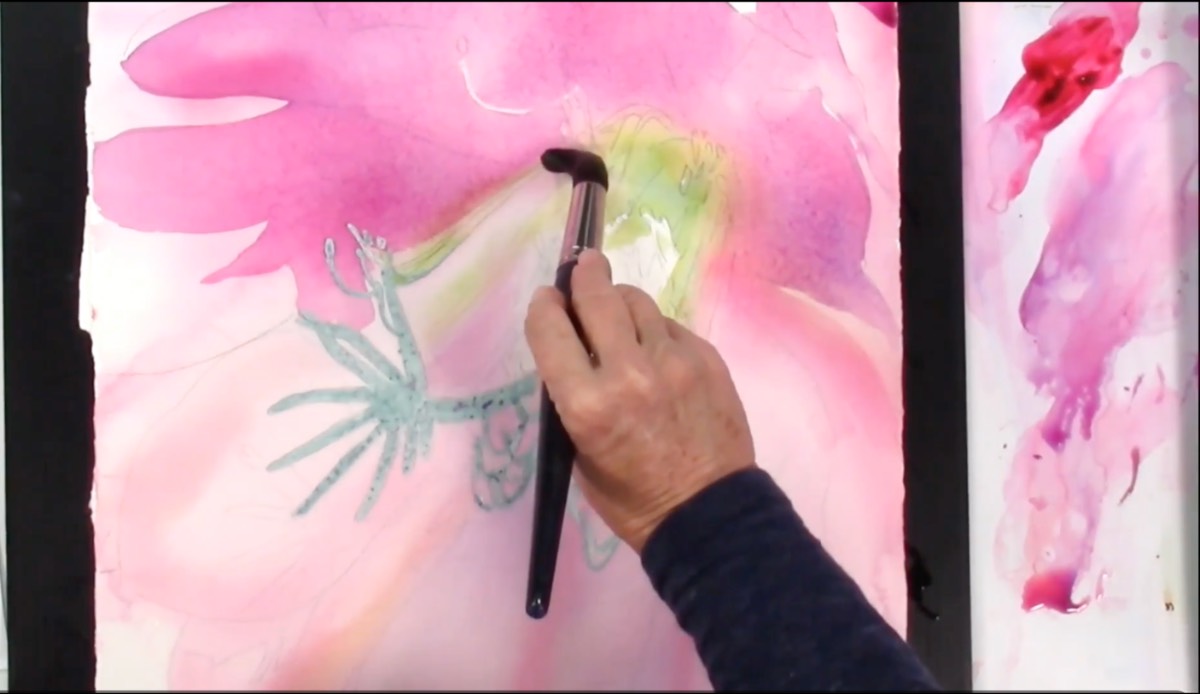
For the shadows at the bottom, make certain to vary the shapes to add interest.
Step 5:
Focus on the green shapes in the center to make sure you have a variety, straying from the reference photo as necessary.
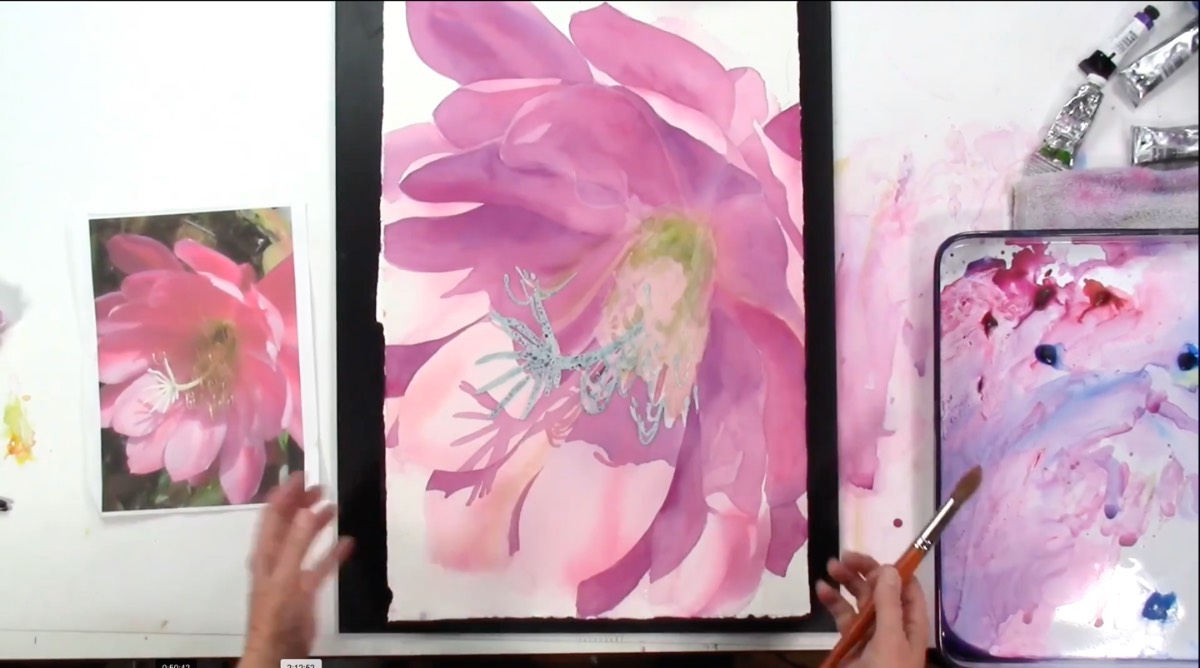
Step 6:
Go over the center area with a light wash to push the stamen area back in the shadows.
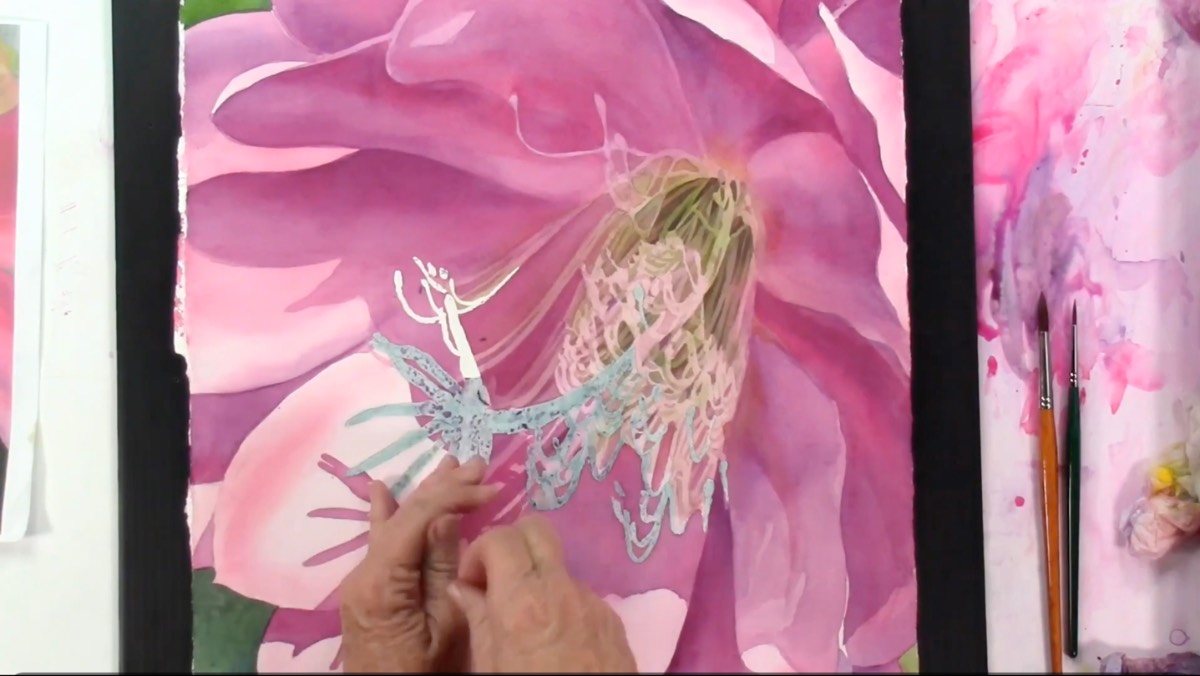
Step 7:
Remove the masking on the stamen, making sure your fingers are clean and the areas around the stamen are dry.
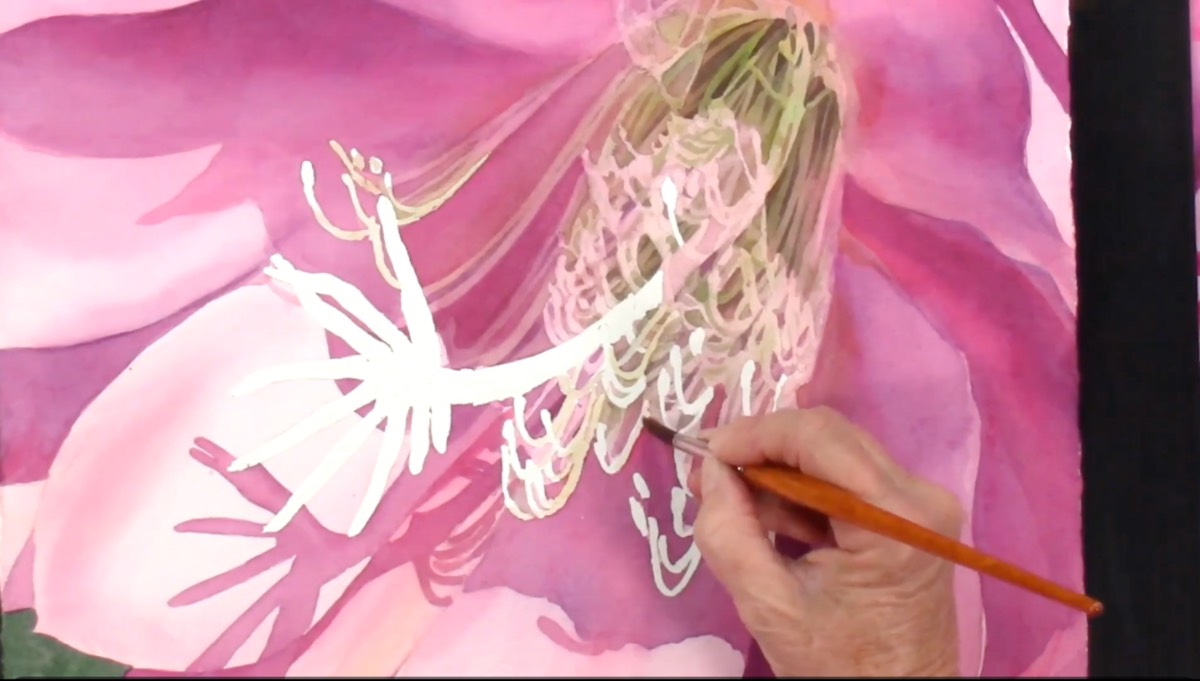
Step 8
Tone down the white of the stamens using a #3 or #8 brush filled with a little tinted water in places, leaving the white of the paper for other areas.
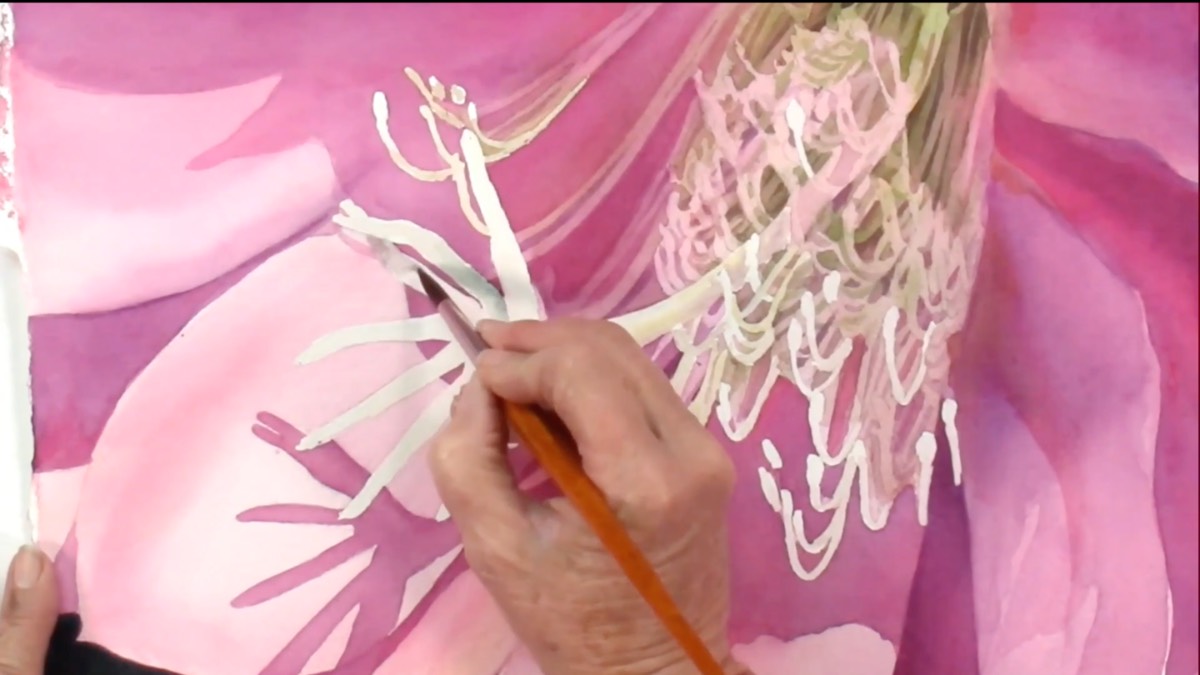
Step 9
Where you want one stamen to go behind the other, add some color to the one underneath to knock it back.
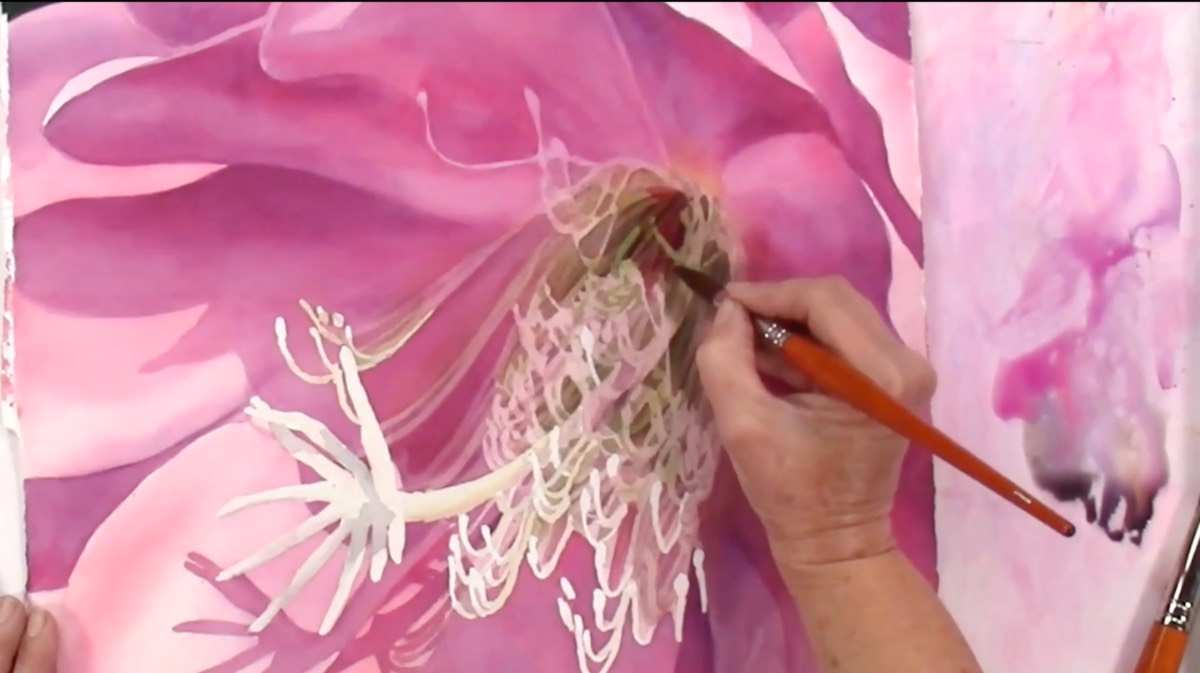
Step 10
To push the center of the stamen area even further back into shadow, add a few dark shapes.
Don’t miss the fun next year! Sign up for the 4th annual Watercolor Live now.


