
By Susan Webb Tregay AWS, NWS
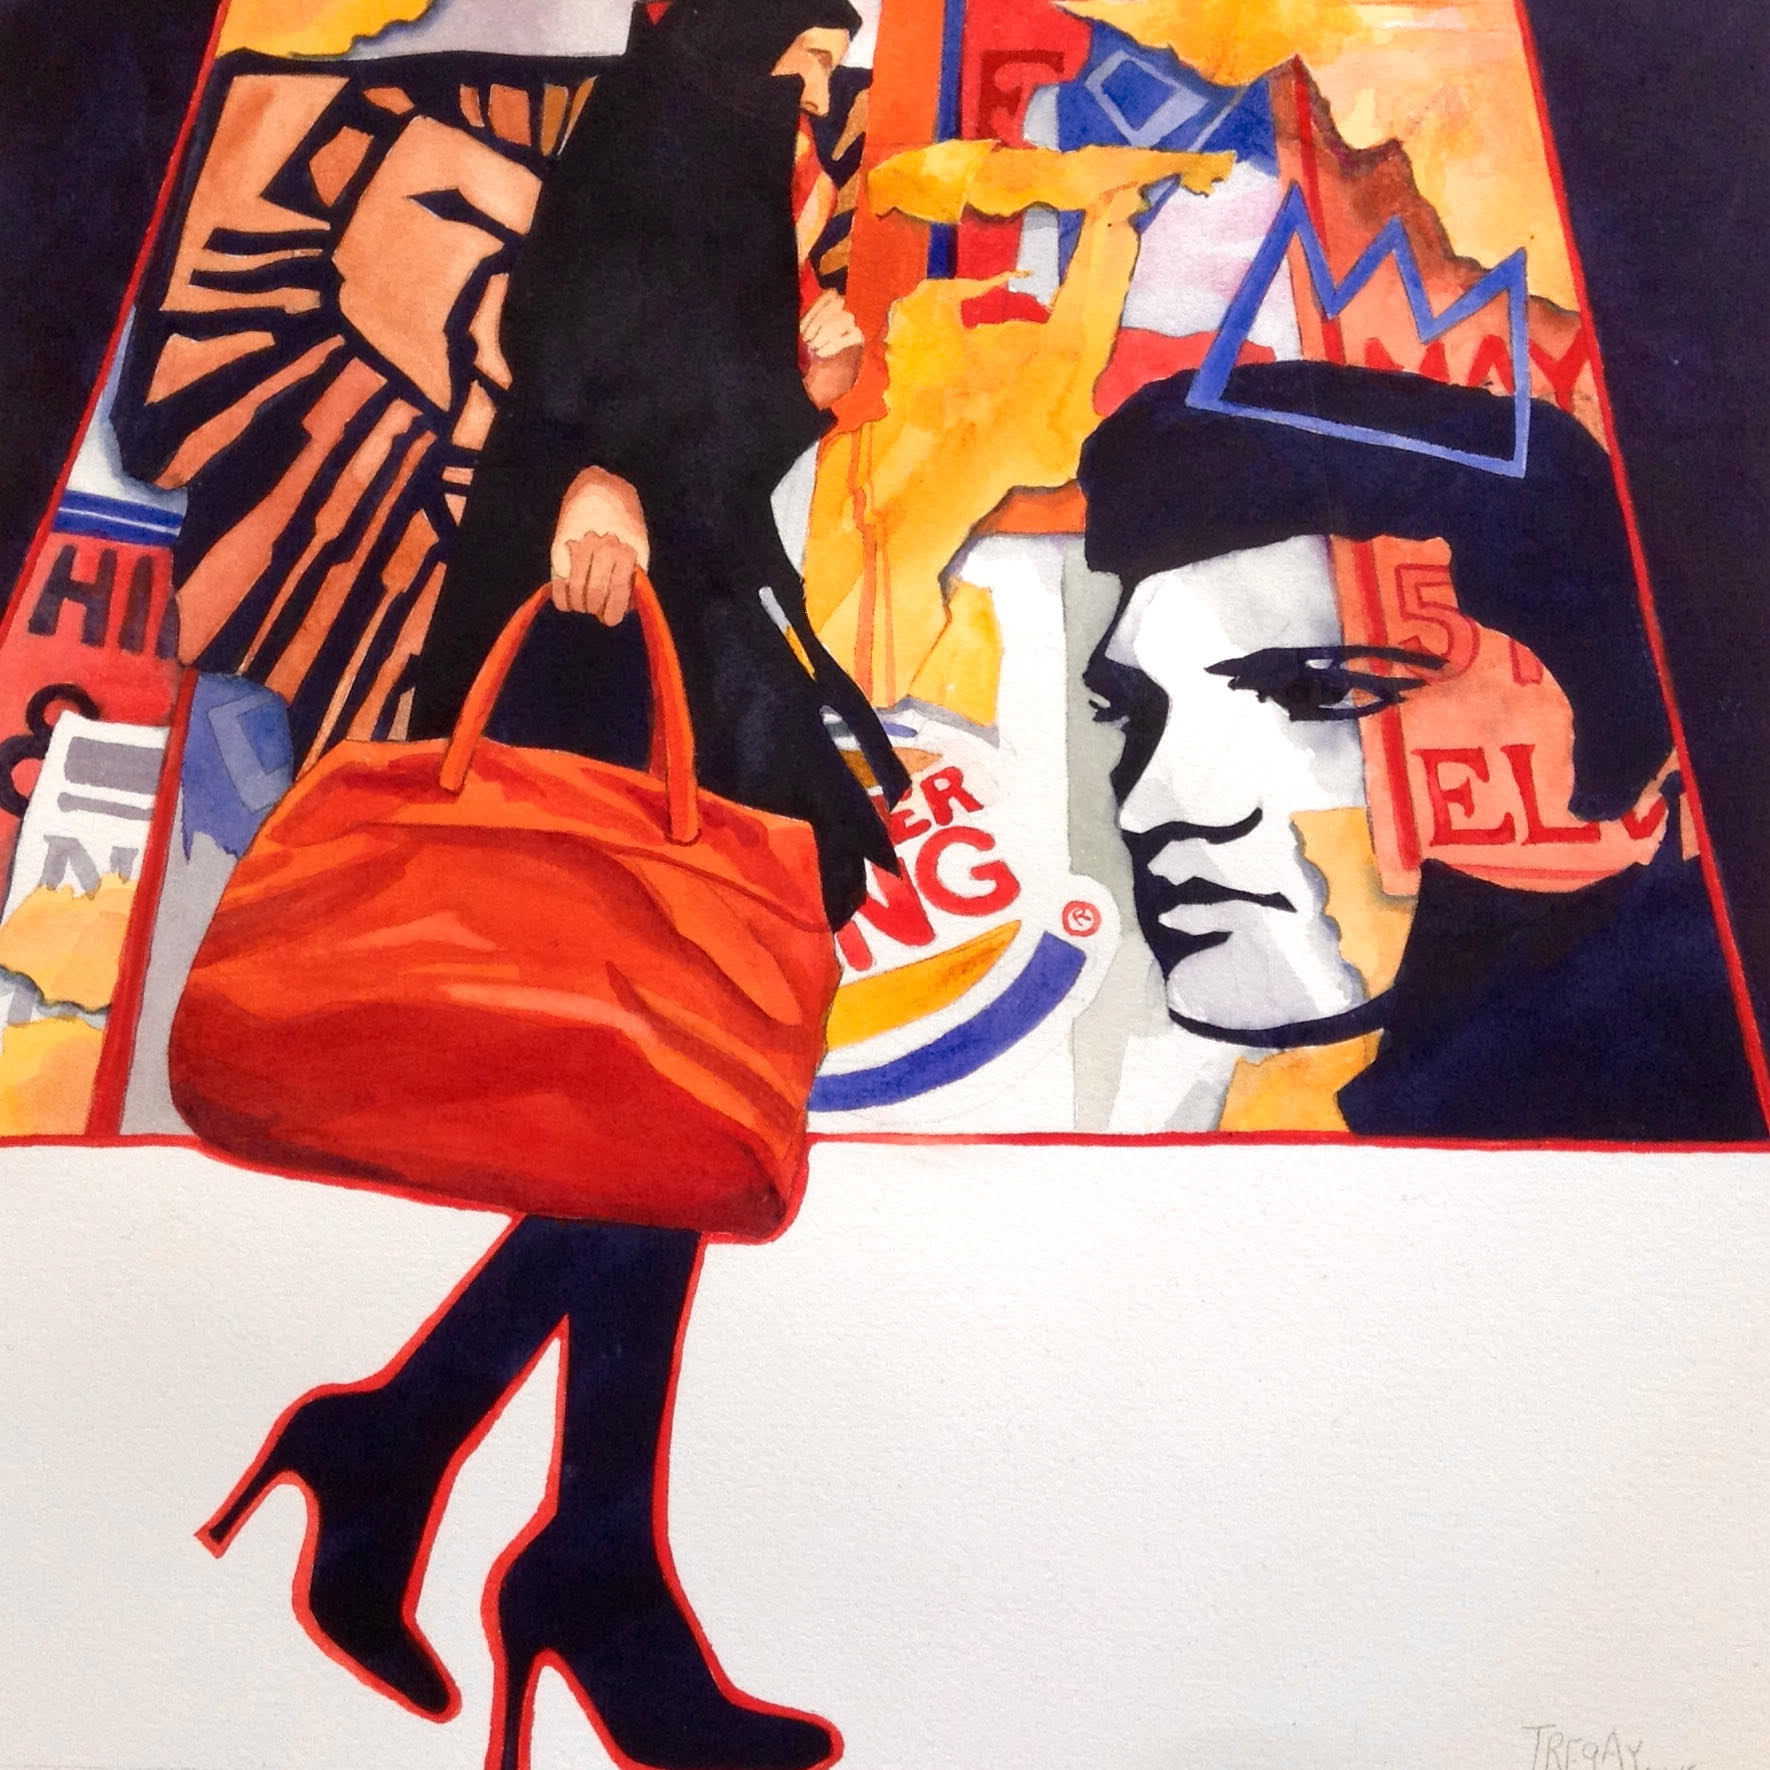
Content is the most important aspect of any art form. “The Kings and I” honors those arts: music, theater, the culinary arts, and literature. The technique that I used to create the content is less important than its meaning, but it is interesting and challenging.
I have grown to love flat, graphic areas in my work. But the ease with which computer programs can produce this effect has made me keep 3D realism as part of my paintings as well. To create this dichotomy, I’ve been using packing tape stencils for many years. What I’m about to show you takes practice. My best advice: Start with simple forms until you get the hang of it.
What You Need
- This works only on Arches paper. Seriously. The top layers of other papers will lift with this tape. Your Arches paper also has to be fresh and not painted on in any way.
- Cheap two-inch wide, clear packing tape, because it is thiner and easier to cut. I buy it in six-packs, as individual rolls tend to be thicker.
- Single-edged razor blades work best because you can feel the texture of the paper when you have cut through the tape. Buy them at your hardware store.
What You Do
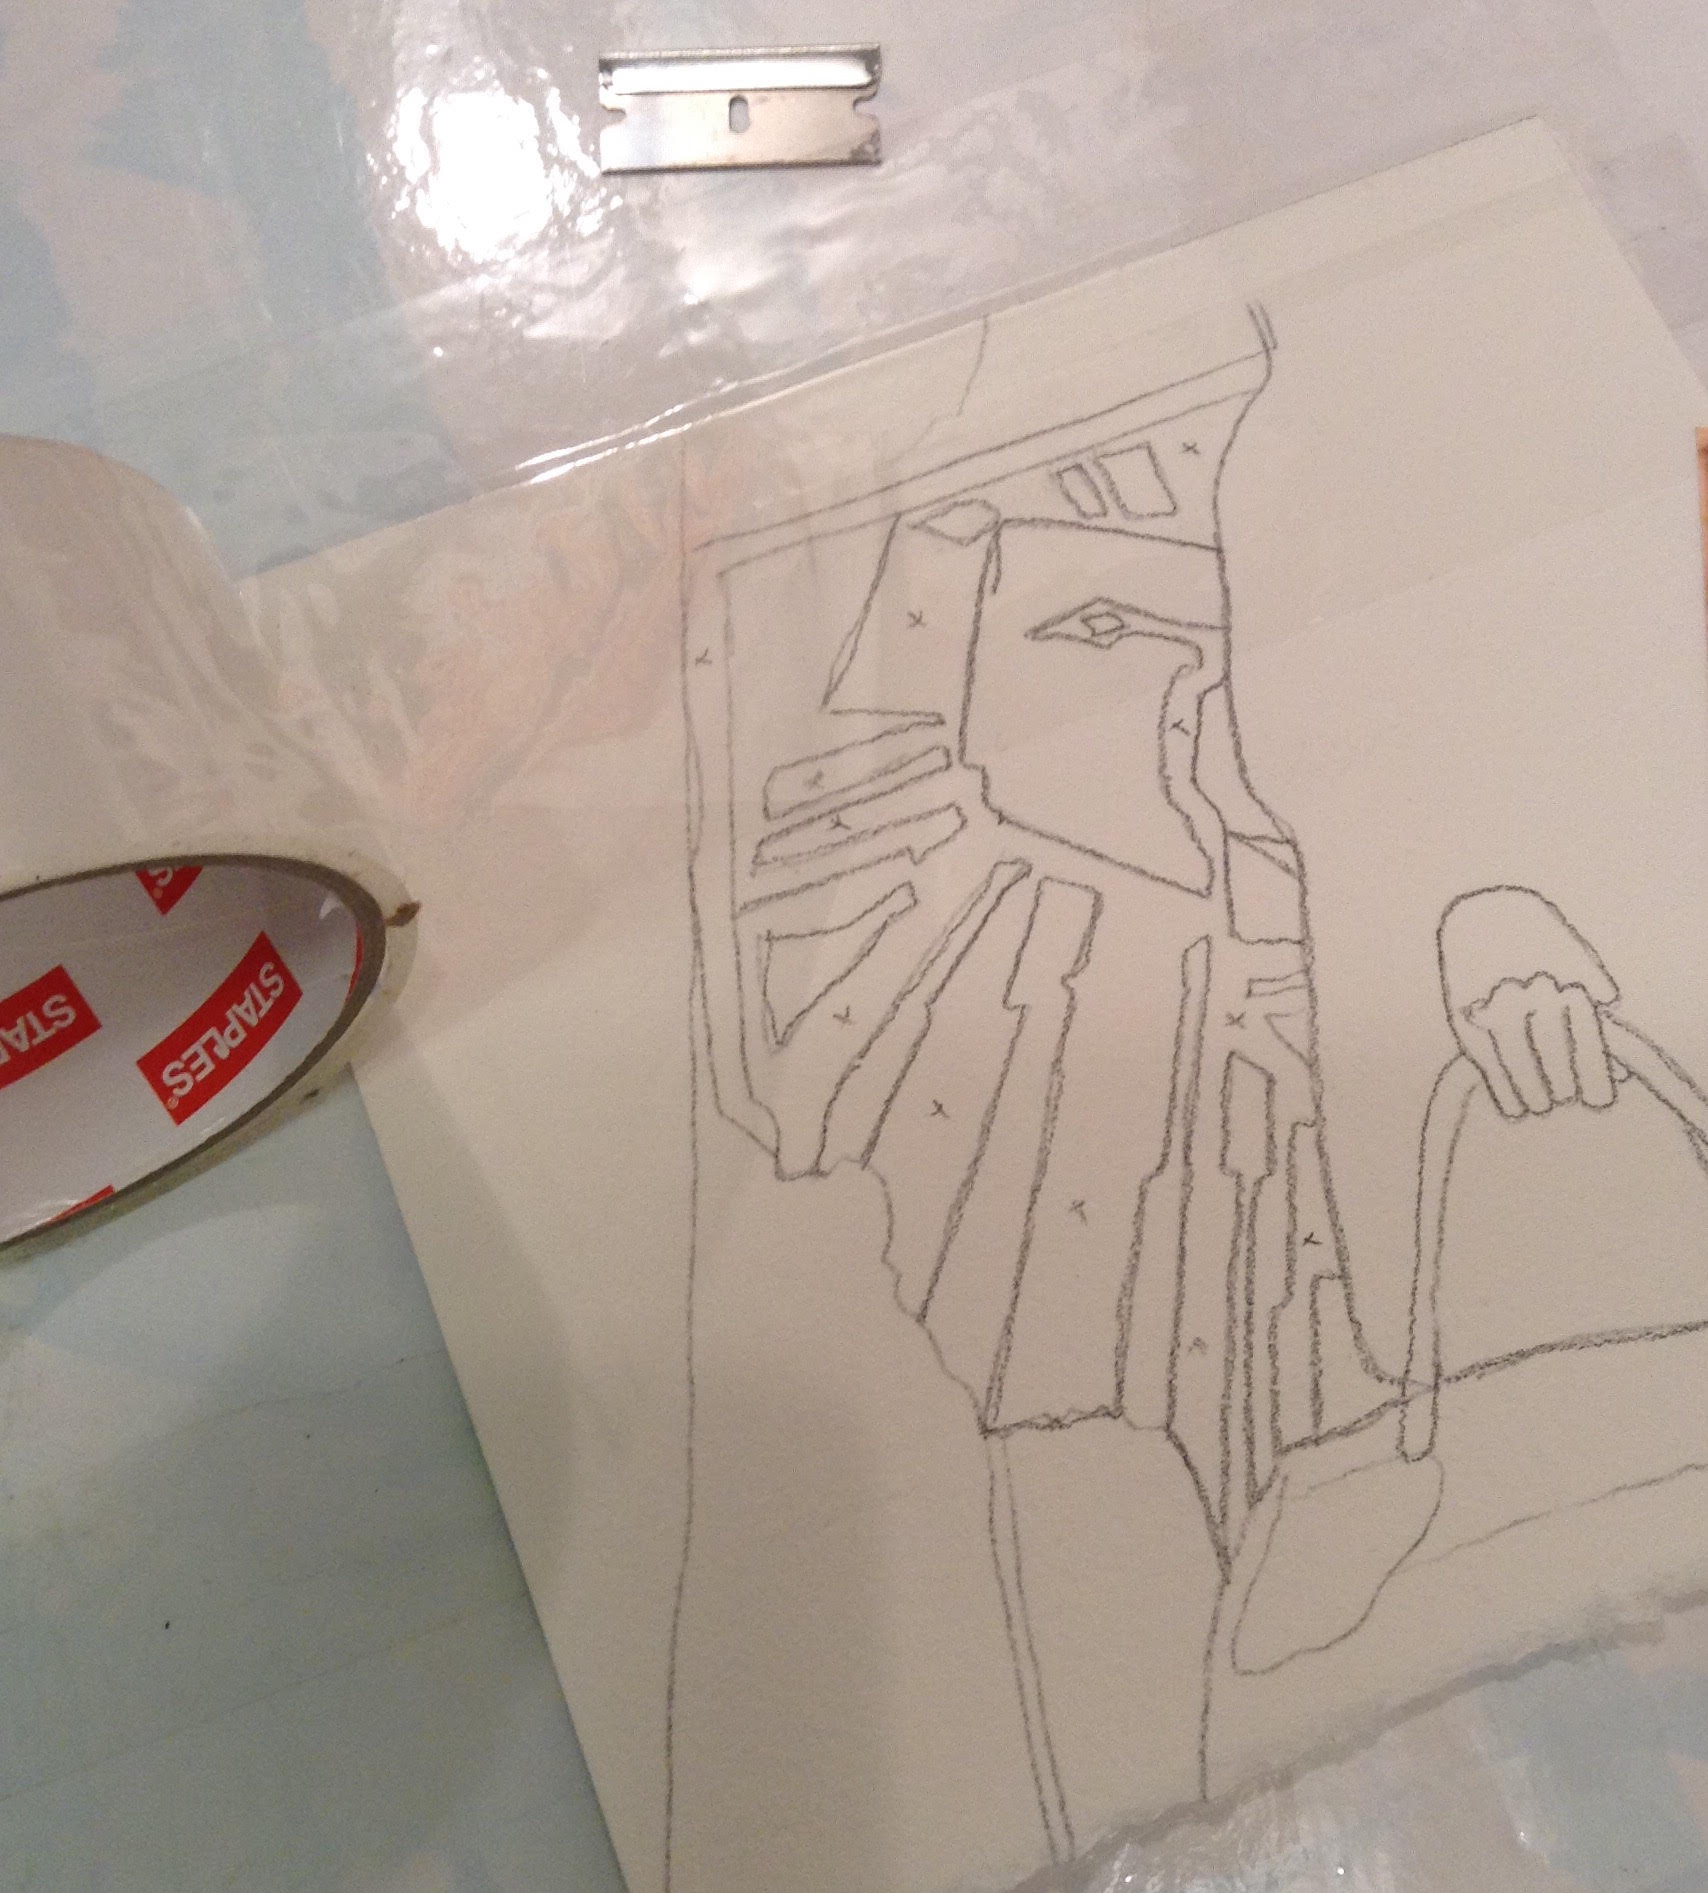
- Plan your painting and make a drawing, then transfer it onto your Arches paper with transfer paper from an art supply store.
- Cover your entire copy of the drawing with clear packing tape. Just lay the tape down. No need to burnish it.
- With your single-edged razor blade, cut through the tape where you had planned to paint it a flat color. Press the blade until you can feel and hear it move along the surface of the paper. You may cut too deeply the first few times, but you will get the feel of this shortly.
- Using the corner of your razor blade remove the area that you want to paint. You are certain to remove the wrong area a few times. This is a learning process.
- Run your finger around the edges of your shape. there is no need to burnish the tape down, though.
- Paint! You can gently dry the paint with a hair dryer, but don’t over do this.
- And so on.


TIP: In order to keep track of the beginning of your tape, store your razor blade under the first quarter inch of the tape. While you are using your blade, tape the beginning of the roll to your table top. Nothing is more frustrating than trying to find the beginning of the roll over and over.
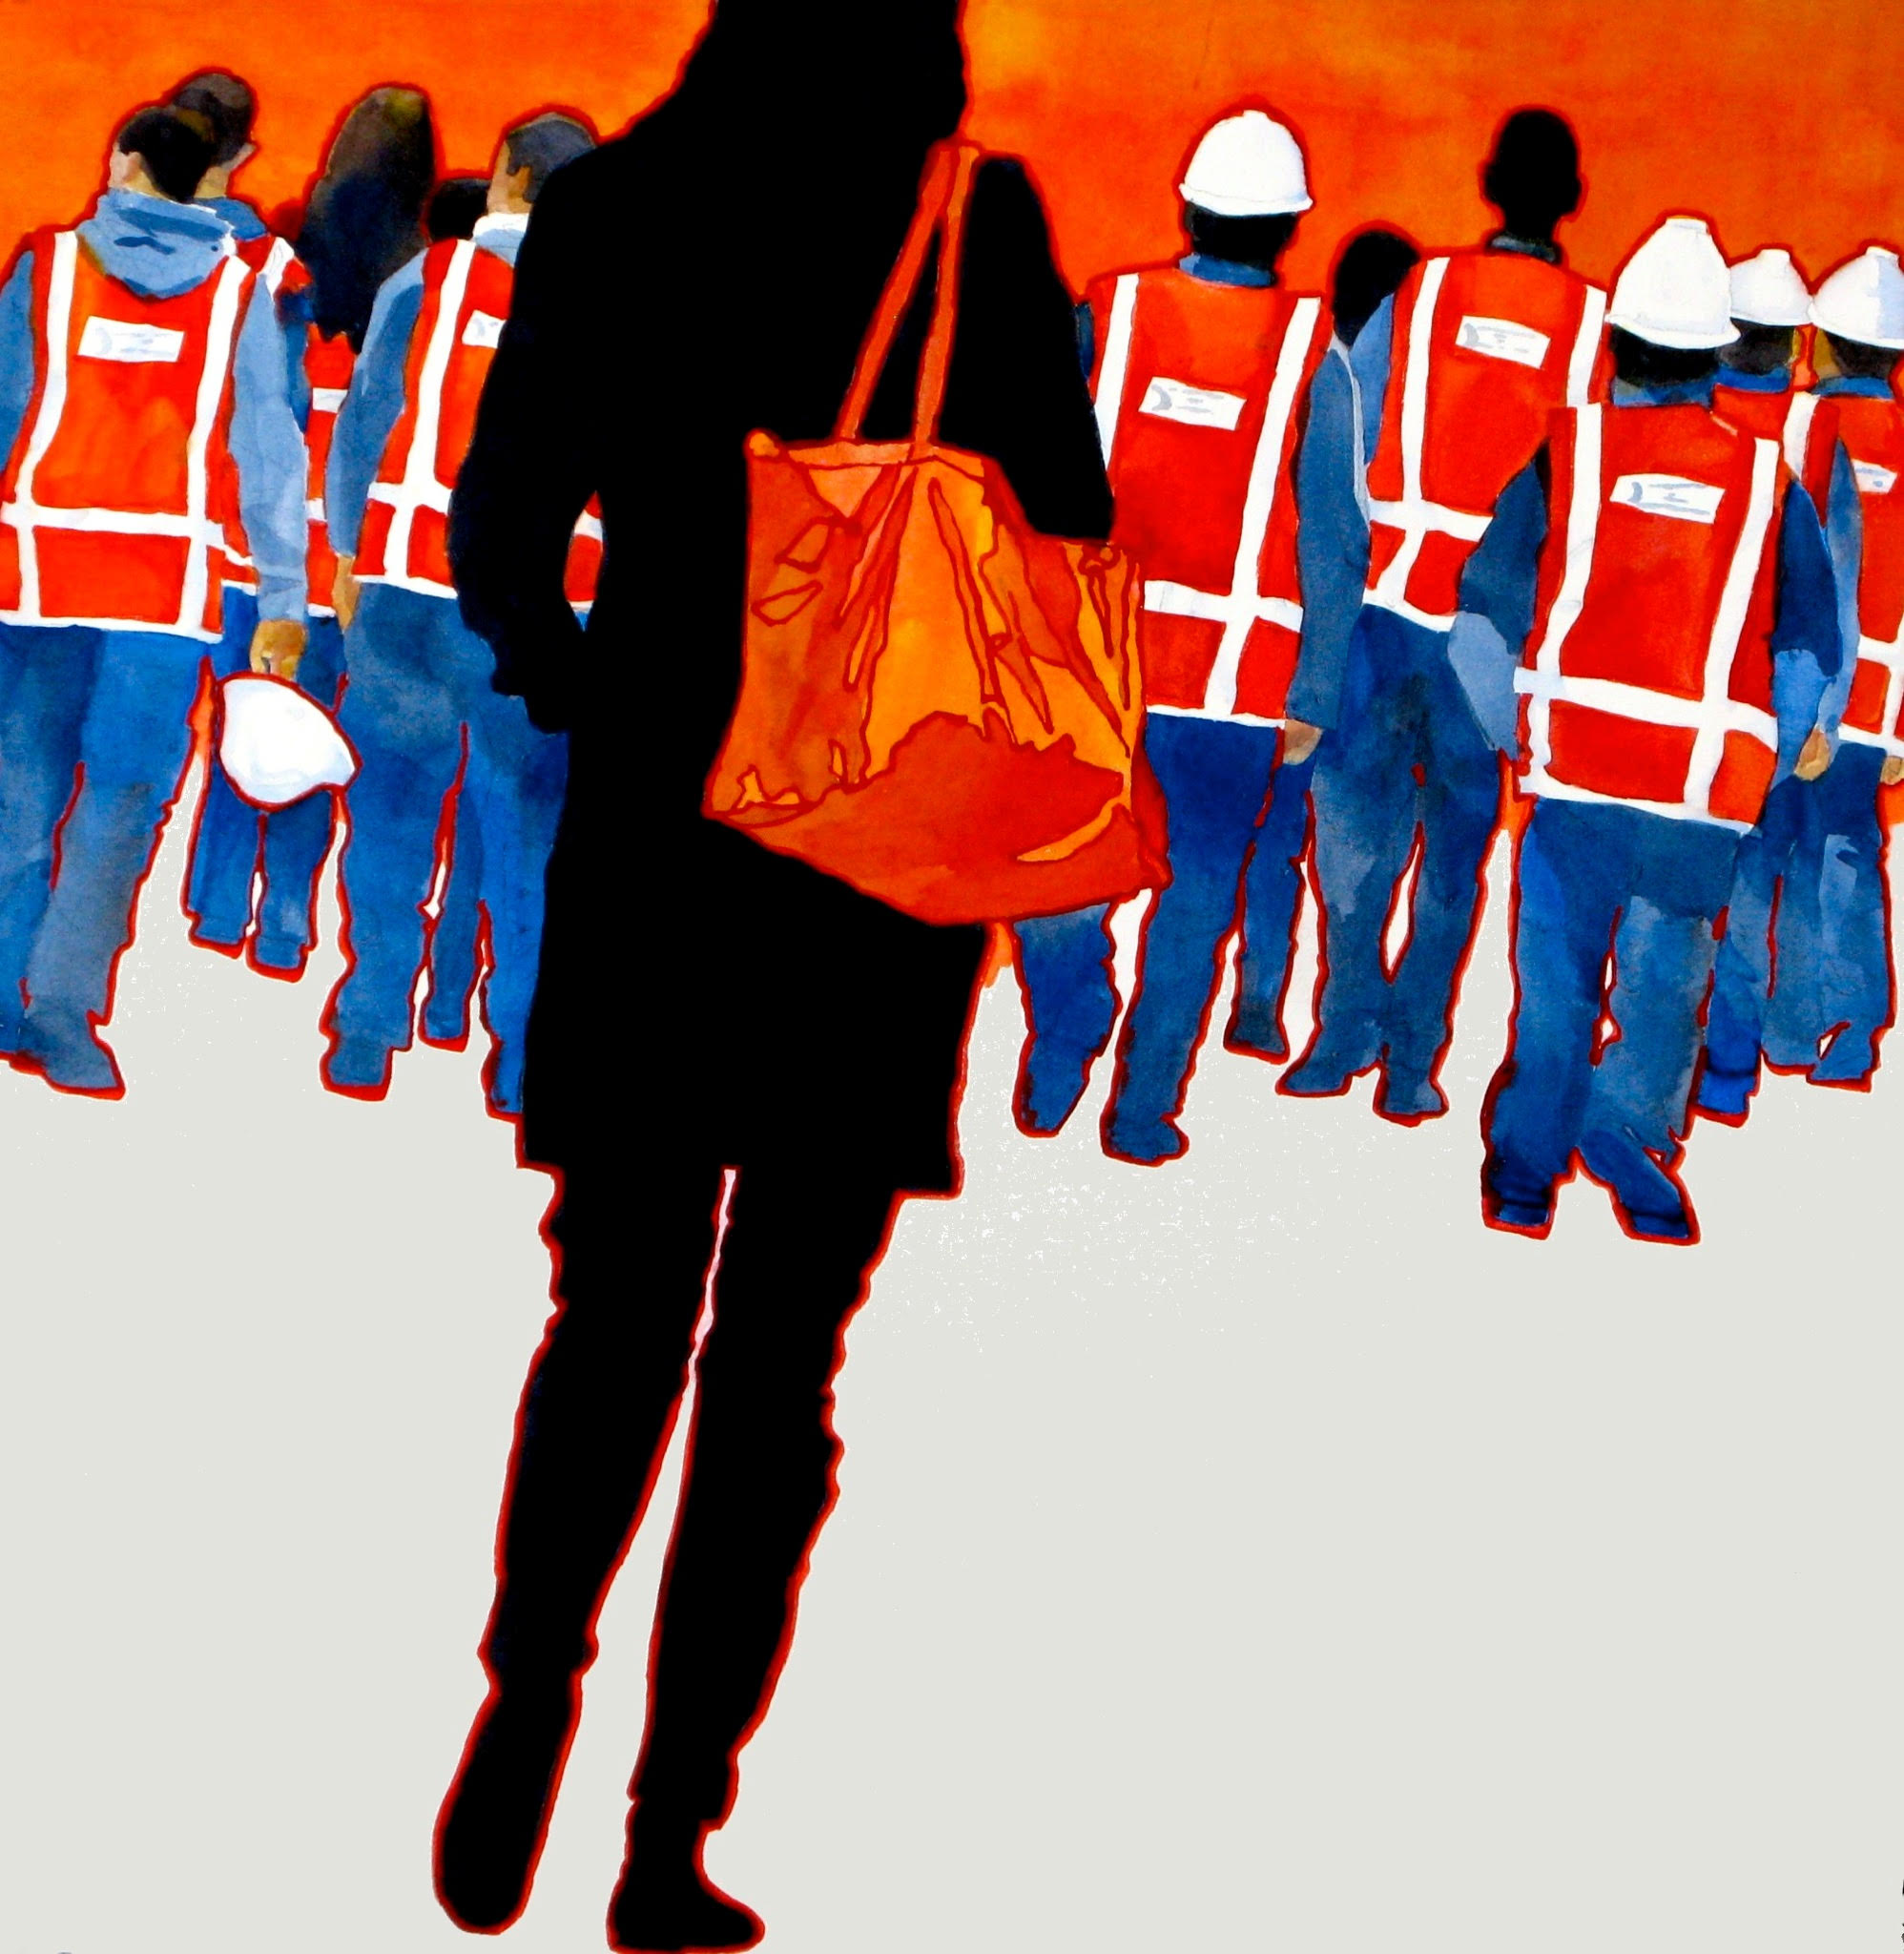
Other Paintings In the Series
The white areas of both of these paintings were saved with packing tape.


I learned this technique from Rick Surowicz YouTube videos. Your article is very well written. And you’re correct about Arches…but Lanaquarrel cp watercolor paper also works and I’ve also had success on Strathmore 500 series. But no success on Stonehenge.
I love the articles in this magazine. I have forwarded it to our local watercolor group Upper Hudson Valley Watercolor Society to post on their Facebook page. Thank you!
Good tip. Thank you1
Ivor
I love that the tape is clear so you can see the entire painting while working. You could even wipe off the tape areas as you progress to see the overall effect. Great results, thanks for sharing this idea, Susan. I’ll remember it when I use Arches.
I can’t seem to get the shapes smooth enough with a razor knife. The shapes end up blocky. Any suggestions?
I use a very small Xacto knife that I can control easily when going around curves. The blades are expensive, but I sharpen them on the sharpening stone that came with my Ginger scissors when the blades get dull. They last longer that way.
I use cheap 2” masking tape (the type used in auto painting shops). You can still see the image through the tape and it doesn’t stick so tight and cuts easy but you’ll need to burnish the edges it most cases before painting.
The packing tape idea looks interesting, but we invented a similar process back in the 1960’s that that illustrators use today. Frisketing! We made our own “frisket” paper film using clear plastic, rubber cement and thinner. The packing tape seems way too sticky and small, for larger paintings.