
By Kristin Hoerth
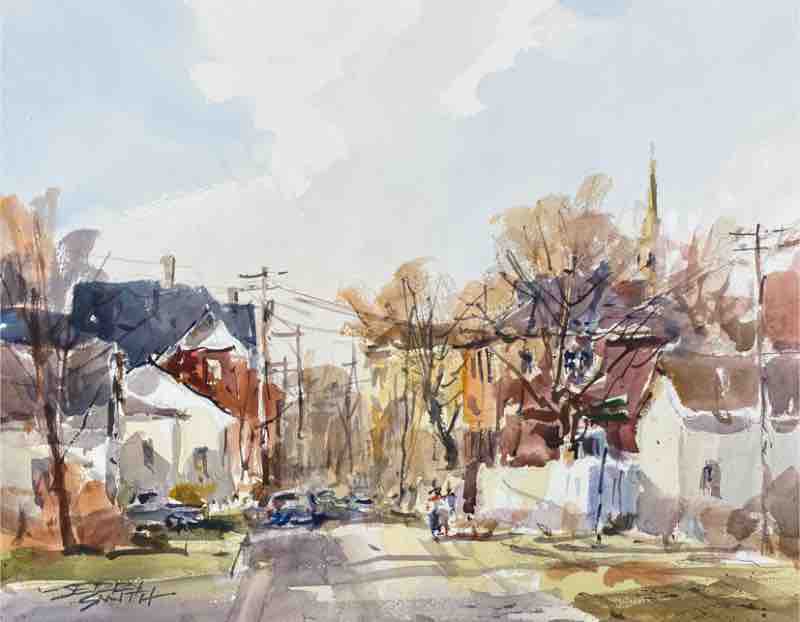
Deceptively intricate, Jerry Smith’s watercolors pull together an array of everyday elements. A small-town street scene might feature a row of buildings, a tangle of telephone poles, parked cars, a mix of foliage, and people out for a stroll. In weaving these details into a cohesive whole, the artist conjures a sense of just-paused motion — a breeze that’s only just stopped whistling through the branches, the faint echo of greetings after neighbors crossed paths.
Take a closer look, however, and you’ll notice Smith has actually included very few details — conveying each building with a single flat plane of color, the street with a simple gray wash, and the figures with just a few quick strokes. No matter how complex the subject, he always strives to keep it loose.
“I like things that are implied,” Smith says. “I like it when viewers see things that aren’t well-defined. It makes them work a little and participate in the painting. When I look at paintings myself, I like the ones that make me search around to see how the shapes interact. So I try to paint simple shapes that suggest complicated subject matter.”
WATERCOLOR TUTORIAL: LEADING THE EYE
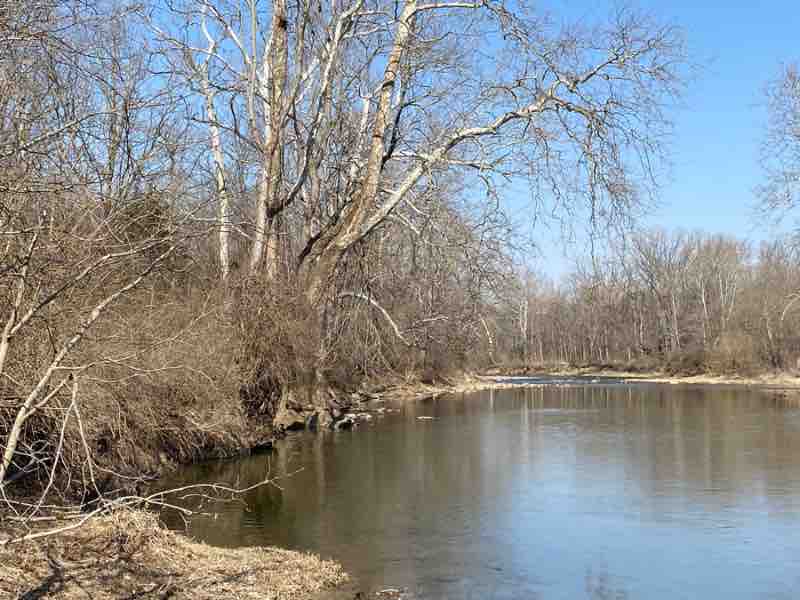
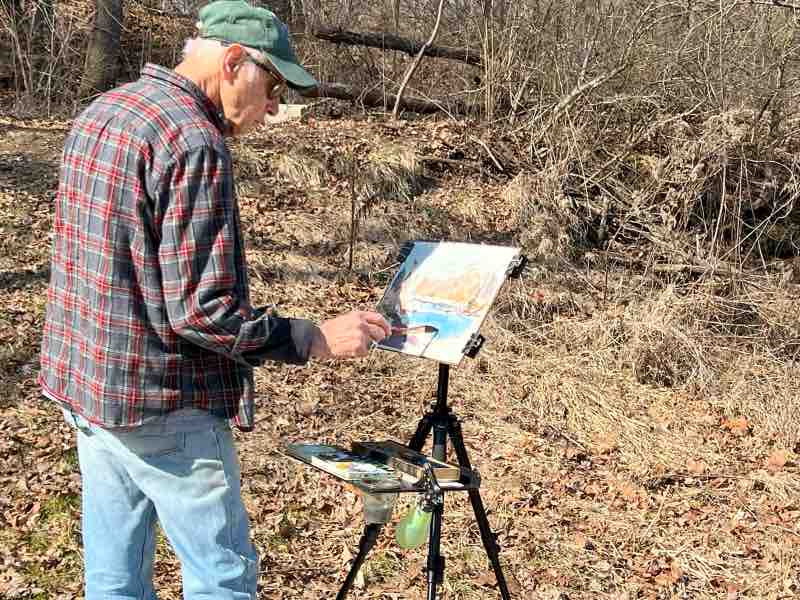
VIEW OF SCENE: “I went out on a bright, unusually warm day in March along Sugar Creek — which is a little wider than it appears here — near where I live,” says Smith. “I was mainly interested in the trees on the left, but I pulled in the right bank as well because I wanted to have those shapes coming in toward the center. I focused on leading the viewer’s eye down the creek and into the painting. The banks of the creek and some of the larger branches gave me good diagonals to work with.”
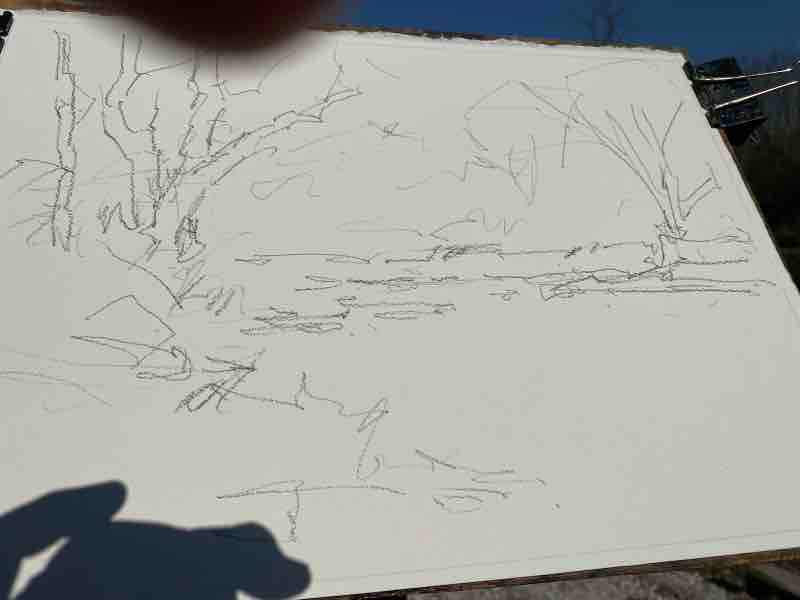
STEP 1: “I used an 8B pencil to make a rough initial drawing. Generally, I don’t worry about the lines showing through the watercolor. For the most part, they blend in, and sometimes they even contribute a little bit.”
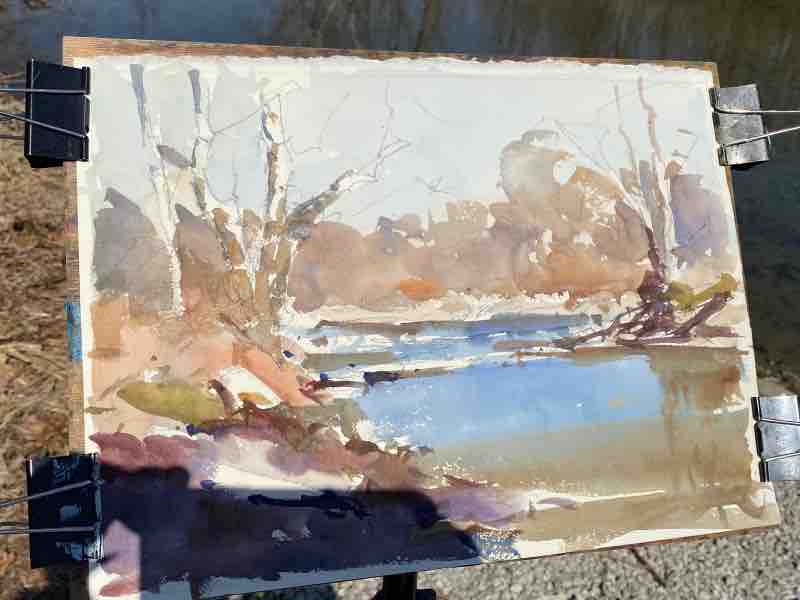
STEP 2: “Starting with dry paper, I painted a very wet sky, going around certain trees. As that was drying, I brought in the brownish washes. I left rough white shapes with hard edges to be developed later. The foreground is a combination of wet-on-wet and harder edges. And I added a small amount of yellow and green, even though very little existed at this time of year.”
STEP 3: “As the initial washes quickly dried, I began adjusting with both line work and washes to strengthen areas and add detail, bringing in more darks. I used a rigger brush to create separation, such as in the center where the bank meets the water.”
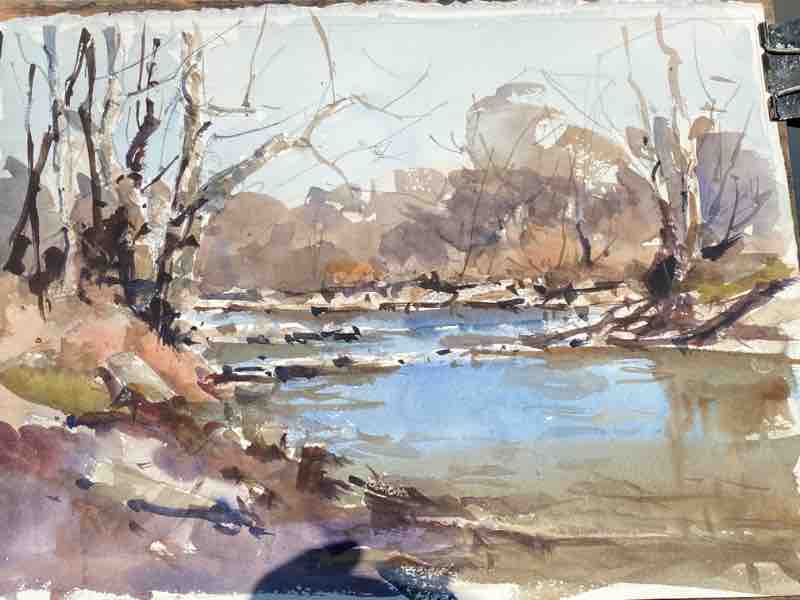
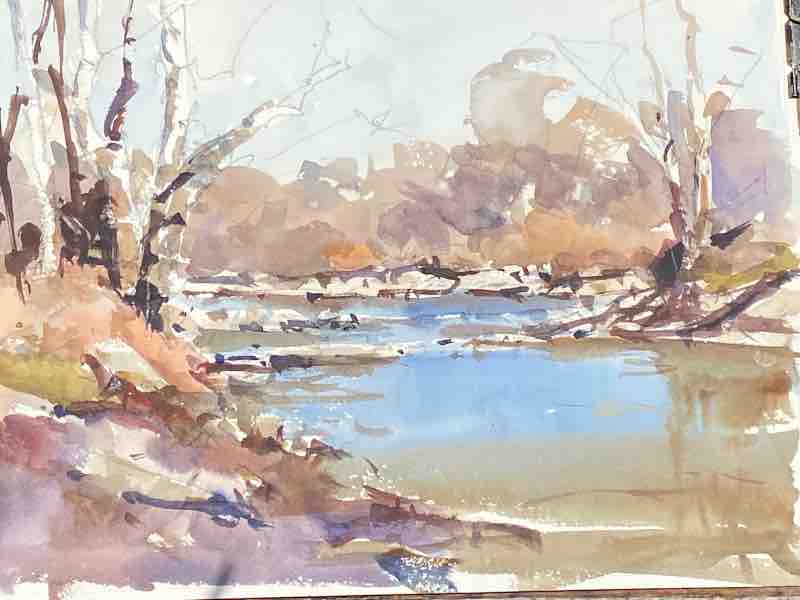
STEP 4: “I added darker washes in the background to make the foreground shapes stand out. I also added final streaks of color in the water to give it more depth and dimension.”

FINAL STEP: “I returned to the studio at this point, where I added details including the geese, which had landed on the creek as I was painting. In the end I was happy with the piece I titled Waiting for Spring, Sugar Creek [watercolor, 10 x 14 in.].”


